Exporting customised orders
Contents
Creating an export template
To export a file containing the details of a received order and to create a customised export template, follow these steps:
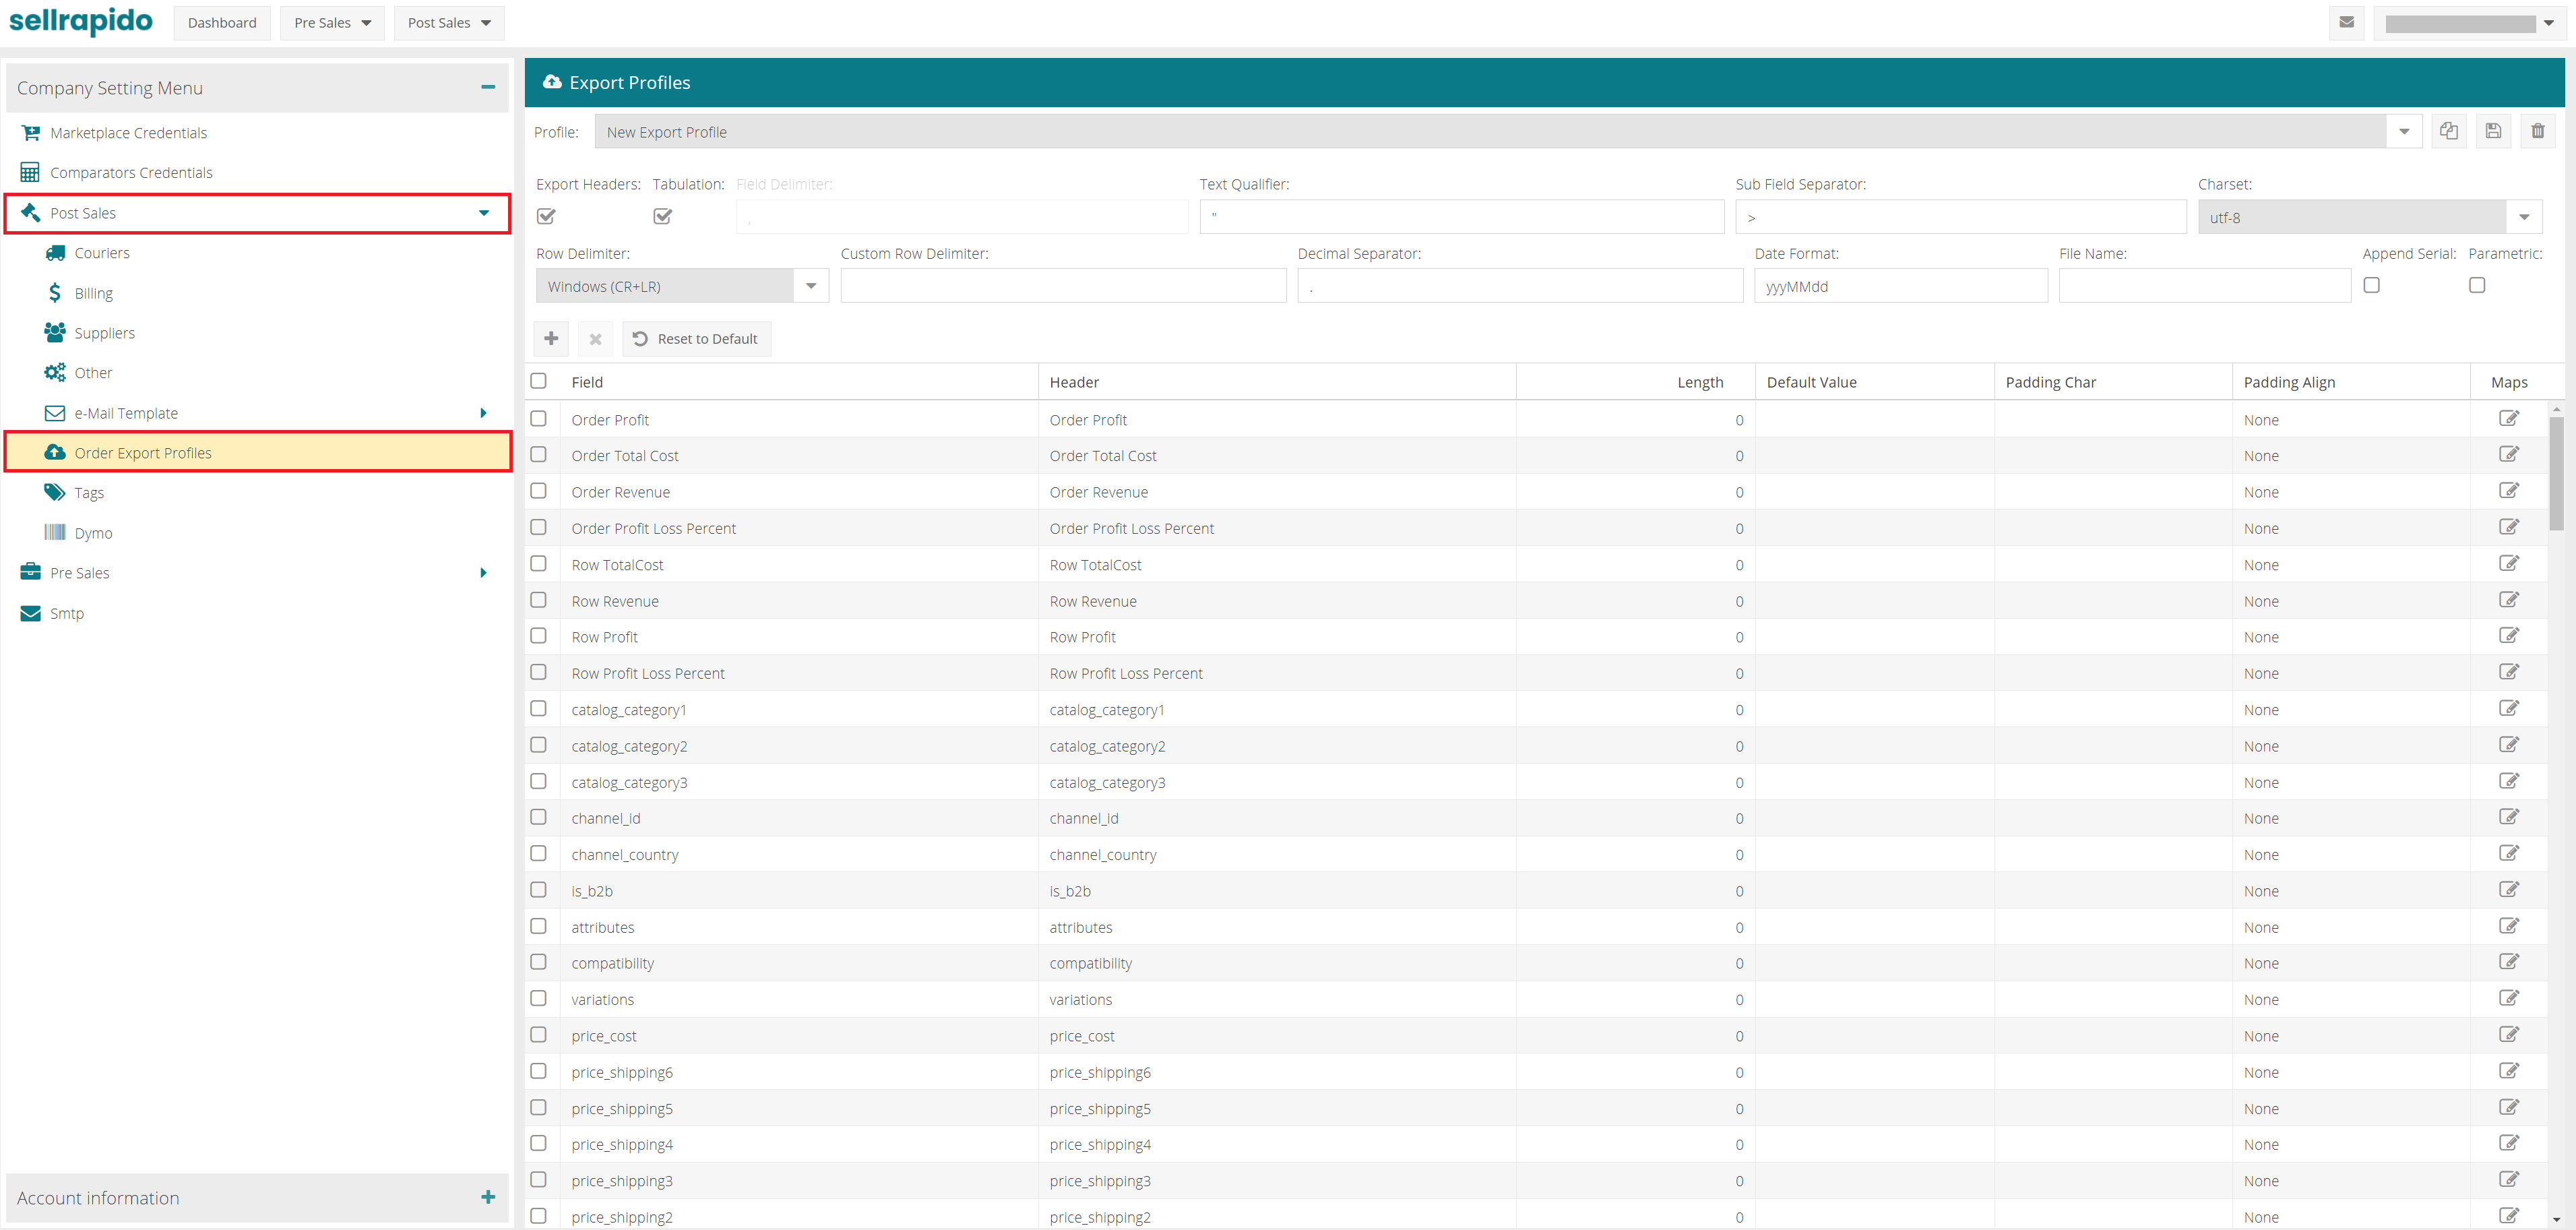
1. Go to Settings > After Sales > Export order profile.
 |
In the Export Profiles section, you can choose the columns (fields) that will appear in the export file.
To see how to do this, go to the sections Customising export columns and Customising export parameters.
2. After you have customised columns and parameters, click on Export to start the export download.
 |
Customising export columns
Length
In this column you will define the length of the field.
If the text in the field is longer than the text length in the Length column, it will be truncated; but if it is shorter, the remaining space will be occupied by a fill character (which can be set in the Fill Character column).
This feature is essential for fixed-width paths. The fill character can be entered to the left or right of the field value (select the direction in the Fill direction column).
Default value
In the Default value field you can set the value to be exported if the field is empty or zero (for numeric fields).
Order of columns
The order of the columns matches the order set in the data source grid.
So if you want to include additional columns or change the export order, you have to act on the data source grid.
The fields available are those in the drop-down menu that opens when you edit one of the fields in the grid:
- to add a field, use the + Add field button
- to remove a field, use the x Delete field button
Customising export parameters
Before exporting, the following parameters can be set:
- Whether or not to export column headings (flag the Export Headings box)
- Field delimiter, i.e. the character that will separate one field from the other (the default character is “,”)
- Row delimiter, i.e. the character that will separate one row from the other (carriage return, line break, etc.)
- Text qualifier
- Date format
- Export file name, path to the folder where the file will be saved and the name (if you do not enter the full path, the file will be saved in a subfolder of the programme)
- Set the file's character encoding (UTF-8 by default).
- Restore Default: restores the factory settings, deleting any customisation of the path.
 |
When you have edited the export template, you can save it for future use.
From the drop-down list, select New Export Profile and click on the Save button.
 |
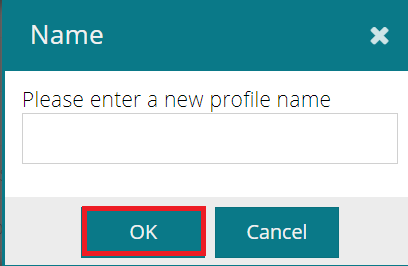
Enter the profile name and click on OK.
 |
Using the export profile
To use the export profile:
1. Go to After Sales > Orders2. Select the orders you want to export and click on Export > Customised
Choose the export profile to be used and click on Export at the bottom right to start the download.