Introduction
in order to use the DYMO label printing function, a DYMO printer (we recommend the DYMO LabelWriter 450) must be installed on the workstation in use, together with the corresponding software DYMO Label version 8.6.2, which can be downloaded from this link
Creating label templates
To print customised DYMO labels, you must create label templates.
To create templates, follow these steps:
1. Go to Settings > After Sales > Dymo.
 |
2. Click on “+” to add a new template.
 |
3. Enter:
- a name for the template, e.g. test
- page orientation: Landscape (horizontal) or Portrait (vertical)
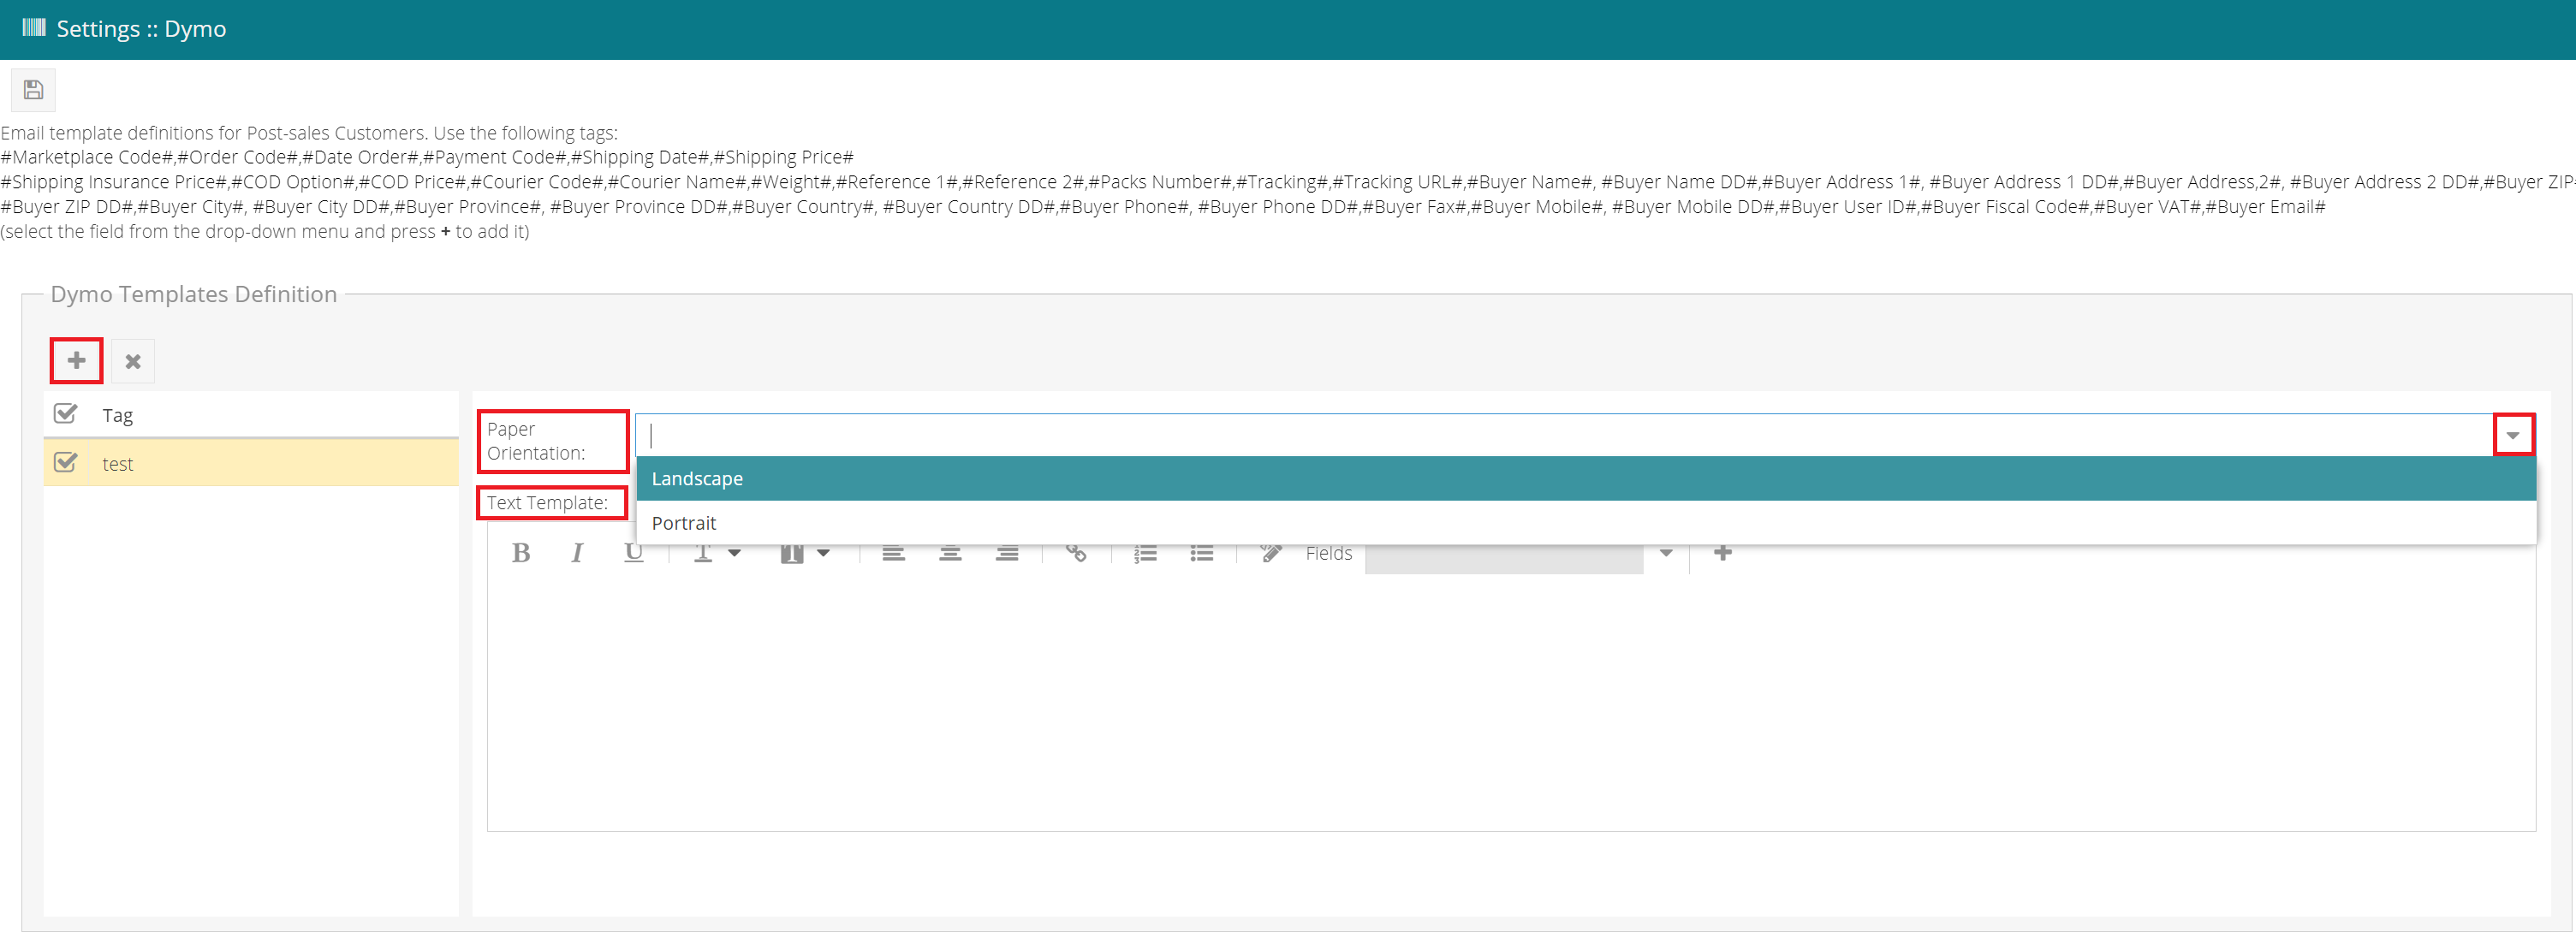 |
- text template - indicates the fields to be printed. SellRapido will replace the field name with its appropriate value at the time of printing.
To insert a field, select it from the Fields drop-down list and press the “+” button.
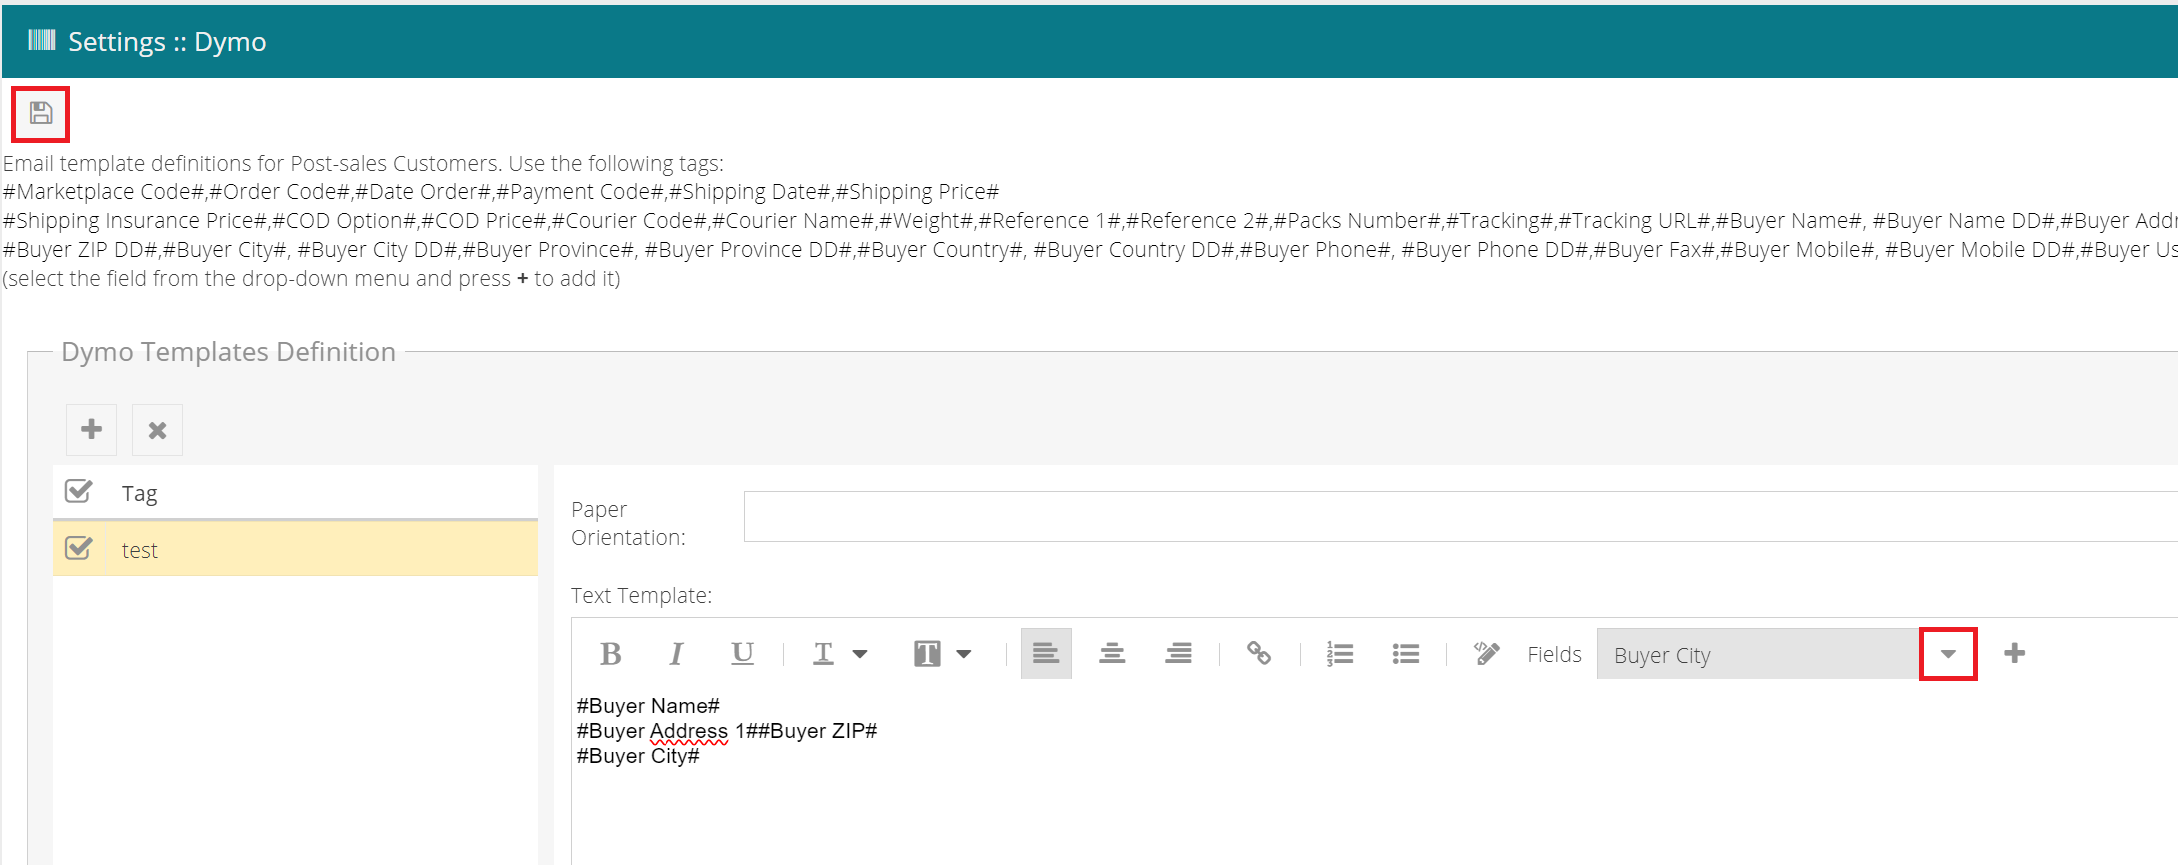 |
Each field must be specified using the format #Field name#.
For example, if you enter #Buyer Name# in the template, the customer (buyer) name will be printed.
The template can have a details section where it can include related information, for example, information on the products sold.
The list of main field names available is as follows:
|
#Marketplace Code# |
order code assigned by the marketplace |
|
#Order Code# |
order code assigned by the merchant |
|
#Date Order# |
order date |
|
#Payment Code# |
payment method |
|
#Shipping Date# |
shipping date |
|
#Shipping Price# |
shipping costs |
|
#Shipping Insurance Price# |
insured shipping (yes/no) |
|
#COD Option# |
cash-on-delivery payment with cash only (yes/no) |
|
#COD Price# |
cash-on-delivery costs |
|
#Courier Code# |
courier code |
|
#Courier Name# |
courier name |
|
#Weight# |
package weight |
|
#Reference 1# |
reference 1 |
|
#Reference 2# |
reference 2 |
|
#Packs Number# |
number of parcels |
|
#Tracking# |
tracking code of the shipment |
|
#Buyer Name#, #Buyer Name DD# |
buyer: name, different destination name |
|
#Buyer Address 1#, #Buyer Address 1 DD# |
buyer: address, different destination address |
|
#Buyer Address 2#, #Buyer Address 2 DD# |
buyer: secondary address, secondary address different destination |
|
#Buyer ZIP#, #Buyer ZIP DD# |
buyer: Postcode, postcode different destination |
|
#Buyer City#, #Buyer City DD# |
buyer: locality, locality different destination |
|
#Buyer Province#, #Buyer Province DD# |
buyer: province, county different destination |
|
#Buyer Country#, #Buyer Country DD# |
buyer: country, different destination country |
|
#Buyer Phone#, #Buyer Phone DD# |
buyer: telephone, telephone different destination |
|
#Buyer Fax# |
buyer: fax |
|
#Buyer Mobile#, #Buyer Mobile DD# |
buyer: mobile phone, mobile phone different destination |
|
#Buyer User ID# |
buyer: username assigned by the marketplace |
|
#Buyer Fiscal Code# |
buyer: fiscal code |
|
#Buyer VAT# |
buyer: VAT No. |
|
#Buyer Email# |
buyer: email |
4. Click on ![]() Save In the upper left to save the template.
Save In the upper left to save the template.
Print Dymo labels
After creating templates, you will be able to print the labels.
To do this, follow these steps:
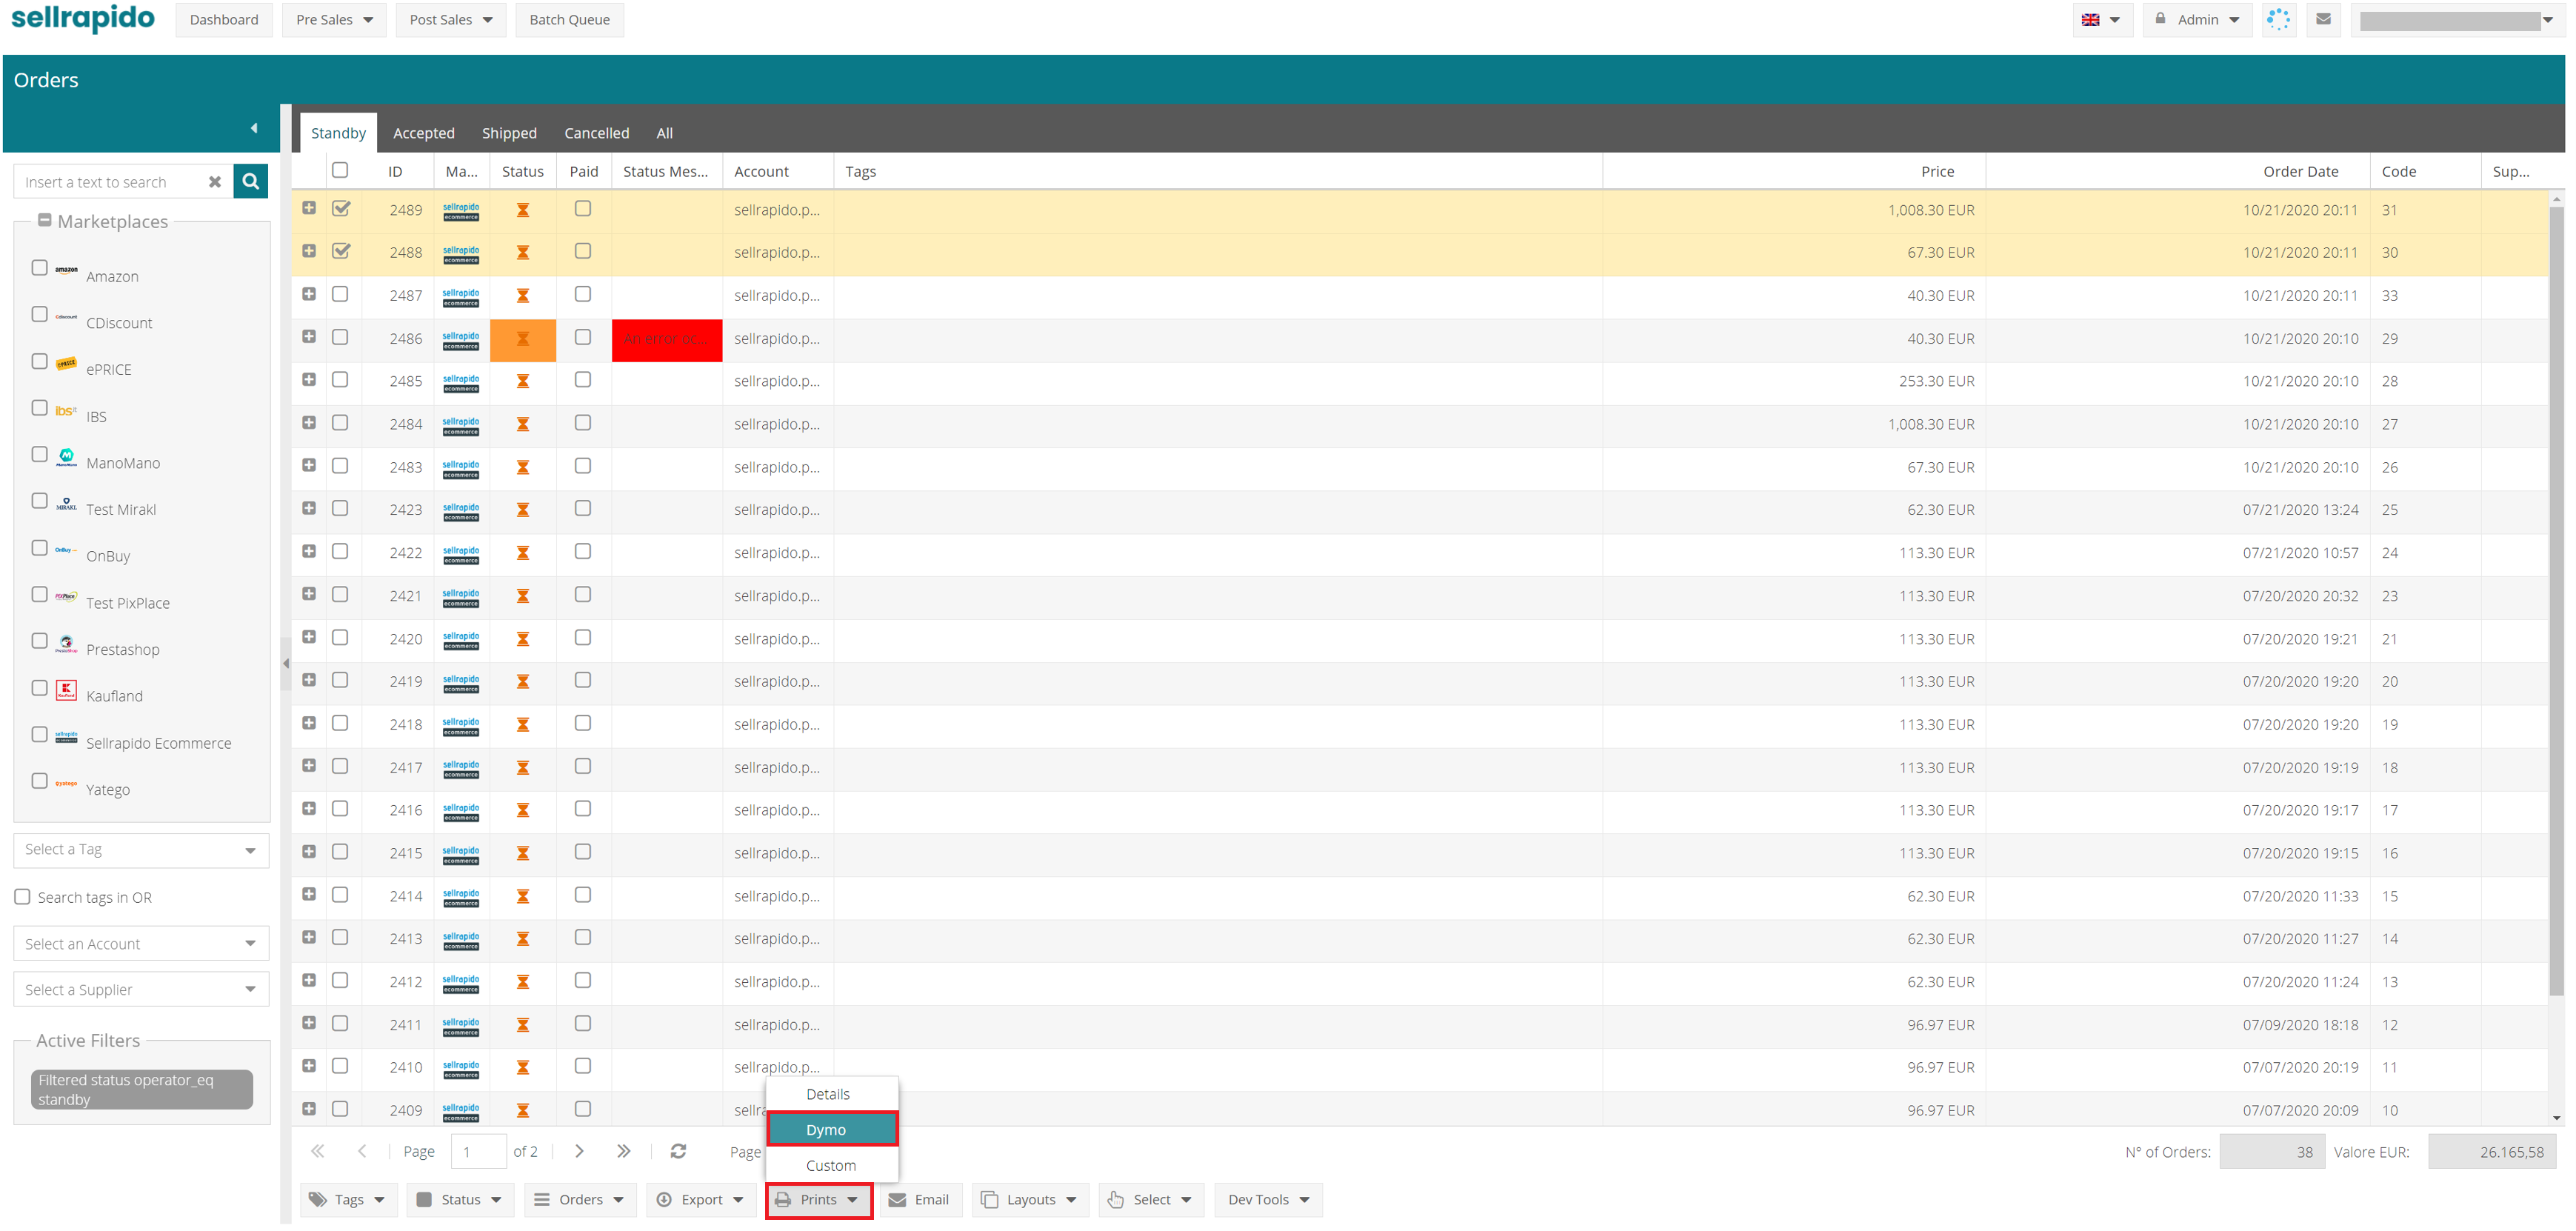
1. Go to After Sales > Orders.2. Select the orders that you want to print the labels for by clicking on Prints > Dymo.
 |
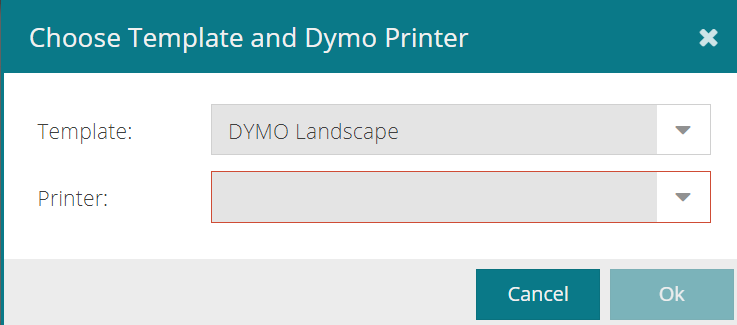 |
Click on OK; a confirmation window will open showing the number of orders that will be printed.
What to do if the DYMO printer is not detected
If the DYMO printer is not detected, there is a security problem.
To detect your DYMO printer, follow these steps:
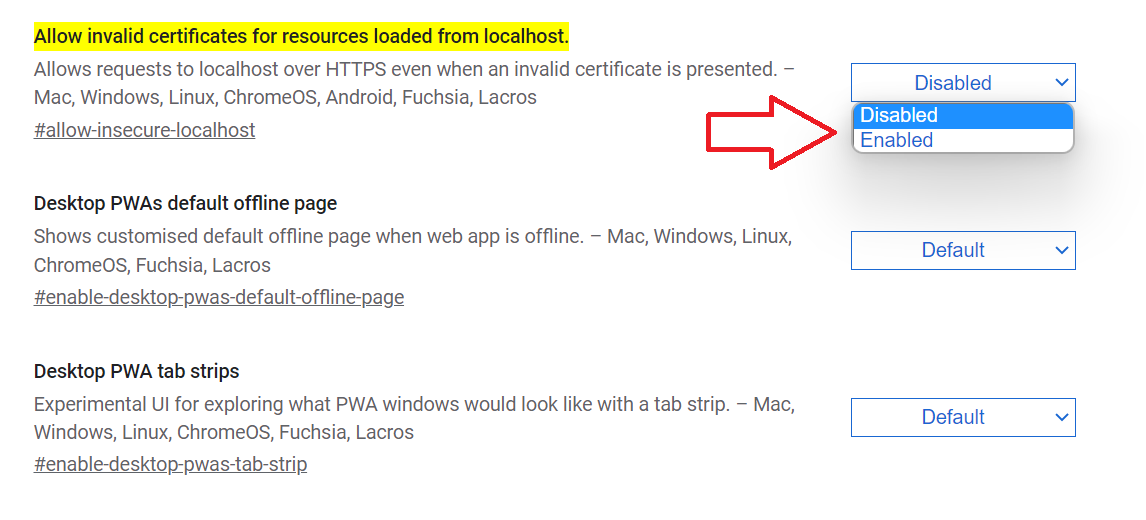
1. Go to the Chrome browser and upload the URL: chrome://flags/#allow-insecure-localhost2. In the Allow invalid certificates for resources loaded from local host field, click on Enabled.
 |
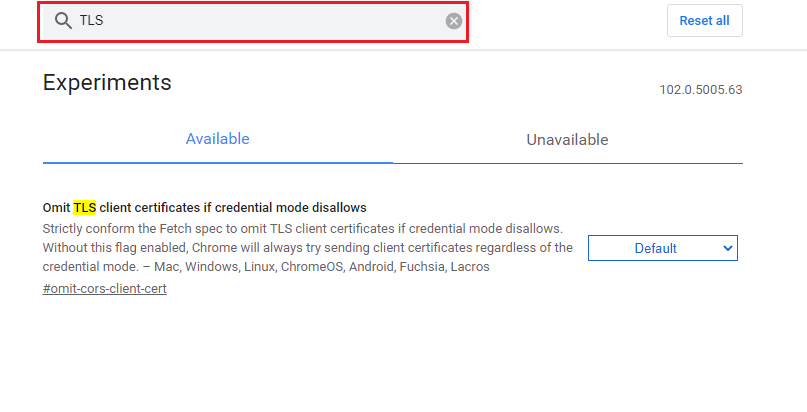
3. Type in Chrome: chrome://flags and press enter.
 |
4. In the search area, type TLS
 |
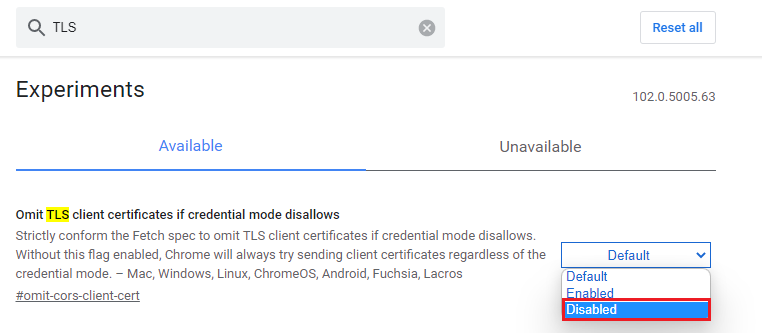
5. Disable TLS by clicking on Disabled in the Omit TLS client certificates if credential mode disallows field.
 |
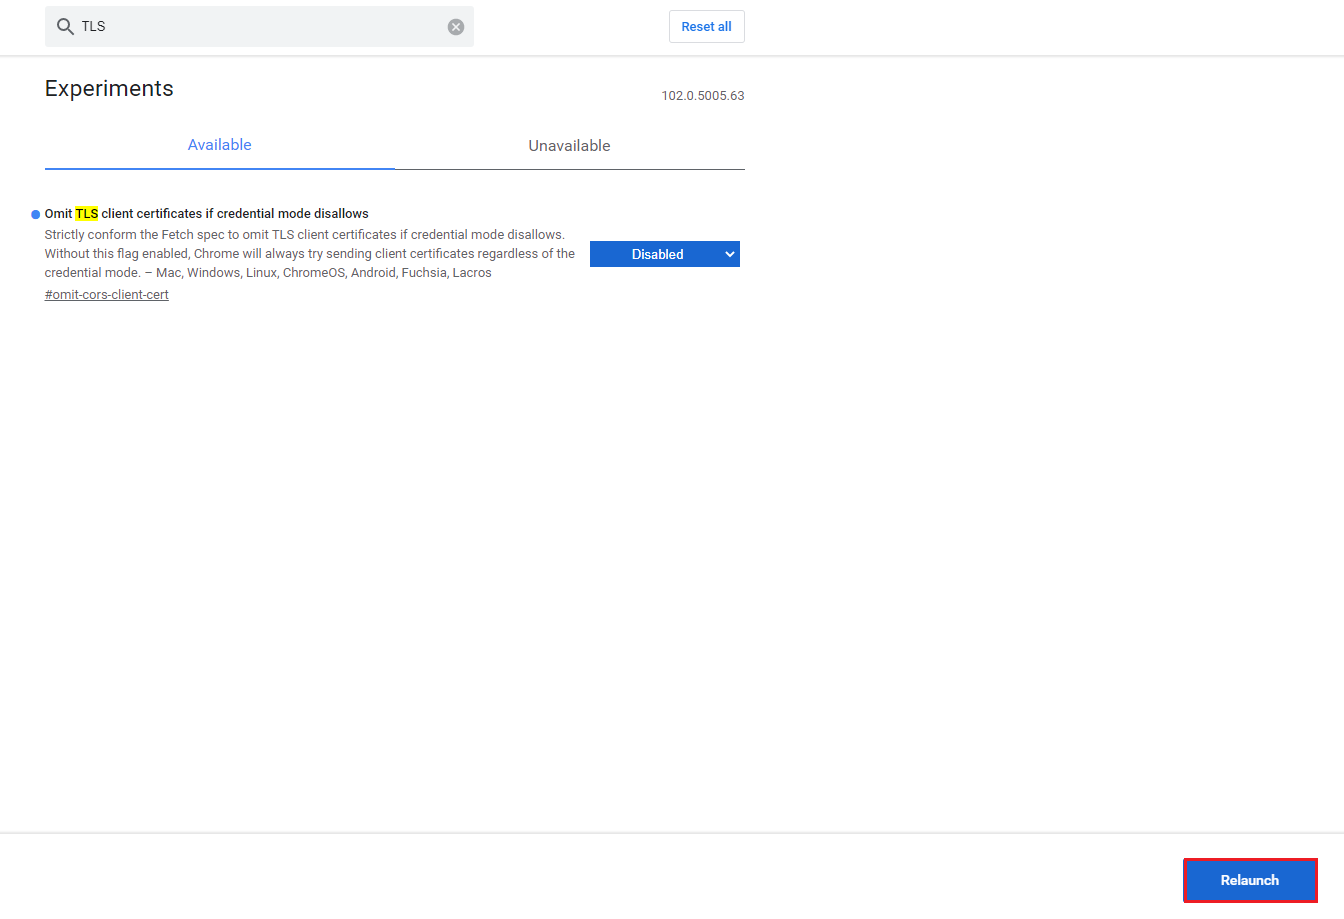
6. Restart your browser with the “Relaunch” button at the bottom right.
 |
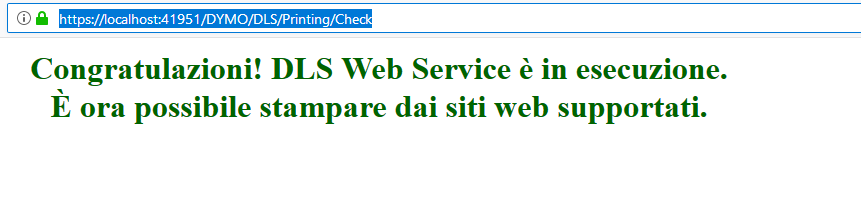
7. Paste the URL: https://localhost:41951/DYMO/DLS/Printing/Check
A message will appear stating that the content is not secure. Confirm the exception (confirmation varies depending on the browser)
8. Close and reopen your browser and paste the URL again. The screen shown in the image appears
 |